Kickstart Your Glow: Meet Your New Favorite DIY Body Scrub
I absolutely adore the feeling of silky, glowing skin, and one of my favorite secrets for achieving it doesn’t come from a fancy spa, but right from my own kitchen. Creating a DIY body scrub is one of the simplest and most rewarding bits of self-care you can do. You get to control every single ingredient, which means no mystery chemicals—just pure, natural goodness. These homemade body exfoliants work wonders by buffing away dull, dead skin cells, leaving you feeling incredibly smooth and refreshed. When you use them regularly, you can seriously improve skin texture and even help reduce the appearance of things like cellulite. It’s a little jar of magic, and I’m going to show you just how easy it is to make your own.

Gather Your Scrub Essentials
The beauty of a homemade body scrub is its simplicity. You only need a few basic components to create an amazing natural exfoliating scrub. Think of it as a simple formula: an exfoliant to do the sloughing, an oil to moisturize, and a little something extra for scent and therapeutic benefits.

- The Exfoliant (The “Scrubby” Part): This is what does the polishing. You have amazing options right in your pantry!
- Sugars: I love using brown sugar for a gentler exfoliation, perfect for sensitive skin. The molasses in it is also a natural humectant, drawing moisture into your skin. White sugar has slightly larger crystals for a bit more scrubbing power. The benefits of using brown sugar really make it a star ingredient.
- Salts: Sea salt or Epsom salt are fantastic for a more vigorous scrub, especially on rough spots like heels and elbows. They are also packed with minerals that can help detoxify the skin.
- Coffee Grounds: Don’t toss those used grounds! The caffeine in a DIY coffee scrub is celebrated for its ability to temporarily tighten skin, making it a popular choice for tackling cellulite.
- The Carrier Oil (The “Smooth” Part): This is what binds your scrub together and leaves your skin deeply moisturized.
- Coconut Oil: A true superstar. It’s incredibly hydrating and smells divine. I prefer using unrefined, virgin coconut oil for the most benefits.
- Olive Oil: Rich in vitamins and antioxidants, this is another powerhouse moisturizer you probably already have.
- Almond Oil: A lighter oil that’s great for all skin types and absorbs easily.
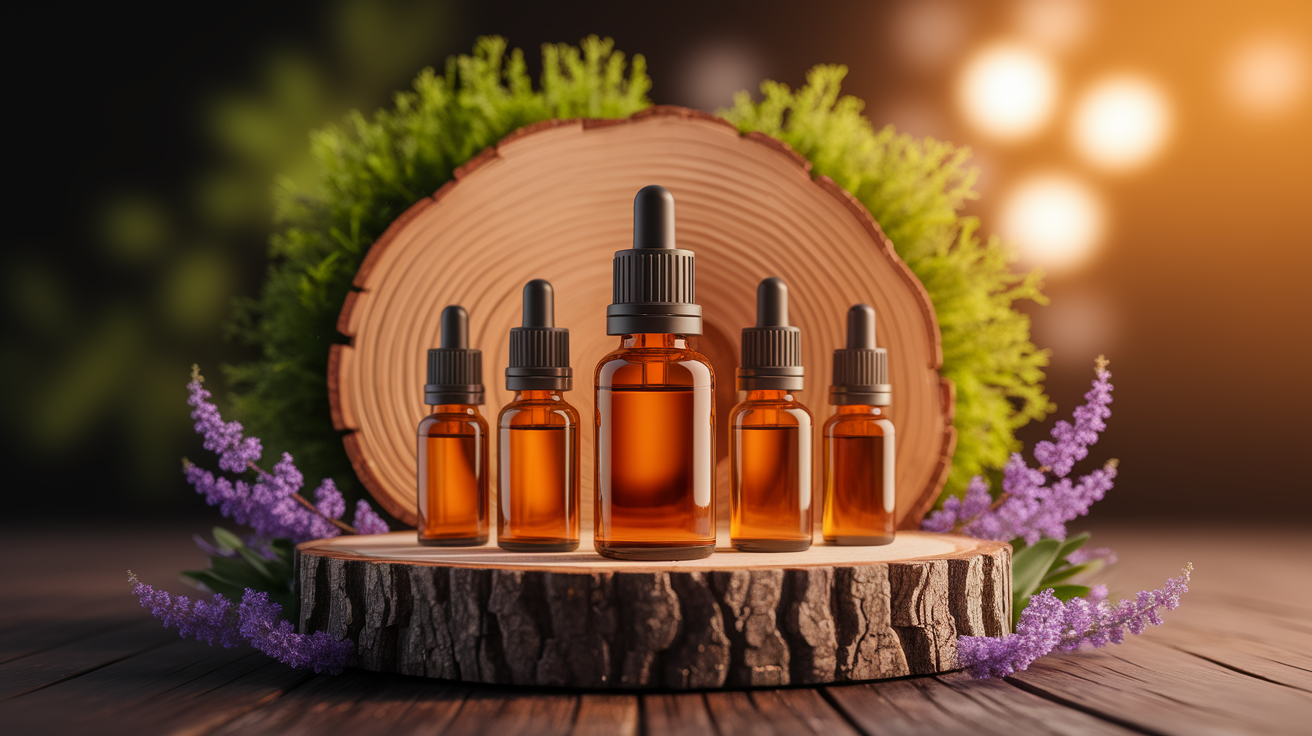
- The Extras (The “Fun” Part): This is where you can truly customize your scrub. I always reach for my essential oils.
- Essential Oils: A few drops can transform your scrub. Lavender is perfect for a relaxing pre-bedtime shower, while peppermint can feel wonderfully invigorating in the morning. For skin-specific benefits, you could explore the uses of turmeric oil for skin, known for its anti-inflammatory glow, or even learn how to make your own orange peel oil for skin for a bright, citrusy boost.
- Honey: Raw honey is a fantastic addition. It has natural antibacterial and anti-inflammatory properties, making it perfect for calming sensitive or acne-prone skin.
A Quick Note on Essential Oil Safety
Essential oils are powerful, so a little goes a long way! As a rule of thumb, start with 5-10 drops per cup of scrub. Always do a small patch test on your skin first. If you ever find your skin feels irritated after use, it’s important to know how to neutralize essential oils on skin correctly—hint: use a carrier oil, not water! For specific oils known to be more potent, like peppermint, it’s especially helpful to know how to remove essential oil if irritation occurs to soothe the skin quickly.
Step-by-Step Scrub Assembly
Ready to feel like a kitchen chemist? Learning how to make a body scrub at home is so simple you’ll wonder why you ever bought one. Here’s a basic recipe to get you started.

- Measure Your Ingredients: A great starting ratio is 1 cup of your chosen exfoliant (like sugar or salt) to 1/2 cup of your carrier oil (like melted coconut oil or olive oil).
- Combine and Mix: In a medium-sized bowl, pour the oil over your exfoliant. Mix them together with a spoon until the consistency is like wet sand. You want it to be spreadable but not soupy.
- Add Your Extras: Now’s the time to stir in your essential oils or a tablespoon of honey. If you want to get creative with a whipped body scrub recipe, this is when you might incorporate a butter base. In that case, knowing how to mix essential oils with shea butter properly will give you a luxuriously smooth final product.
- Store It Properly: Spoon your finished scrub into an airtight container, like a mason jar. This keeps it fresh and prevents water from getting in. Homemade scrubs without preservatives are best used within a couple of months. An easy DIY gift in a jar is born!
Choose the Right Scrub for Your Skin
The best part of DIY beauty is tailoring recipes to exactly what your skin needs. Here are a few ideas to get you started on the best homemade body scrubs for your specific concerns.
For Dry, Thirsty Skin: Moisturizing Sugar Scrub
If your skin is feeling dry or flaky, an easy DIY sugar scrub recipe for glowing skin with coconut oil is your best friend. Use 1 cup of brown sugar, 1/2 cup of melted coconut oil, and 5-10 drops of lavender essential oil for a calming, ultra-hydrating treat.

For Sensitive or Acne-Prone Skin: Gentle Honey & Oat Scrub
For skin that needs a softer touch, try a homemade body scrub for dry sensitive skin using natural ingredients. Finely grind 1/2 cup of oatmeal and mix it with 1/2 cup of brown sugar. Add 1/2 cup of almond oil and a tablespoon of raw honey. The honey offers wonderful calming properties, and the oatmeal is incredibly soothing.
For A Toning Boost: DIY Coffee Scrub for Cellulite
If you want to know how to make a coffee body scrub for cellulite at home, this is for you. Mix 1 cup of caffeinated coffee grounds with 1/2 cup of warm coconut oil and a teaspoon of vanilla extract for a delicious scent. The caffeine can help stimulate blood flow and temporarily firm the skin’s appearance. It’s one of my favorite DIY spa treatments!
Seal the Glow: Your DIY Scrub Routine Made Simple
Once you’ve whipped up your gorgeous homemade body polish, it’s time for the fun part! For the best results, use your scrub in the shower or bath when your skin is already damp.

- Scoop and Apply: Take a generous amount of scrub and apply it to your body in sections. I like to start with my legs and work my way up.
- Scrub Gently: Using gentle, circular motions, massage the scrub into your skin. Pay extra attention to rough areas like your knees, elbows, and feet. This is all about gentle exfoliation, not harsh scratching!
- Rinse and Pat Dry: Rinse the scrub off thoroughly with warm water. When you step out of the shower, gently pat your skin dry with a towel. You’ll notice the oil has left behind a beautiful, light layer of moisturizer.
So, how often should you use a homemade body scrub? For most people, 1-2 times a week is plenty to enjoy the benefits of exfoliating your body without causing irritation. Following up with your favorite body lotion or butter will seal in all that new moisture and keep your skin glowing for days.
There you have it—a simple path to radiant skin, made with love and natural ingredients from your own home. Enjoy the process and the amazing results!